
Composite Boat Repair Guide: Step-by-Step DIY Instructions
Posted by Pascal Smyth on 2024 Feb 7th
One of the main concerns I hear from customers when they are considering a higher end composite craft, whether that be a kayak or a canoe, is durability. It makes sense, as most composite layups are significantly lighter than a comparable sized plastic kayak, especially those using a rotomolded polyethylene construction. Though there are some manufacturers that sacrifice some toughness for lightness, overall composite boats are pretty darn tough. Furthermore, any damage to a composite boat can be repaired with a little bit of know-how. It’s a messy job, and it’s certainly not a project everyone will want to undertake. Here’s a quick run through of a repair I recently did that should help give you an idea of what’s involved.
Step 1:
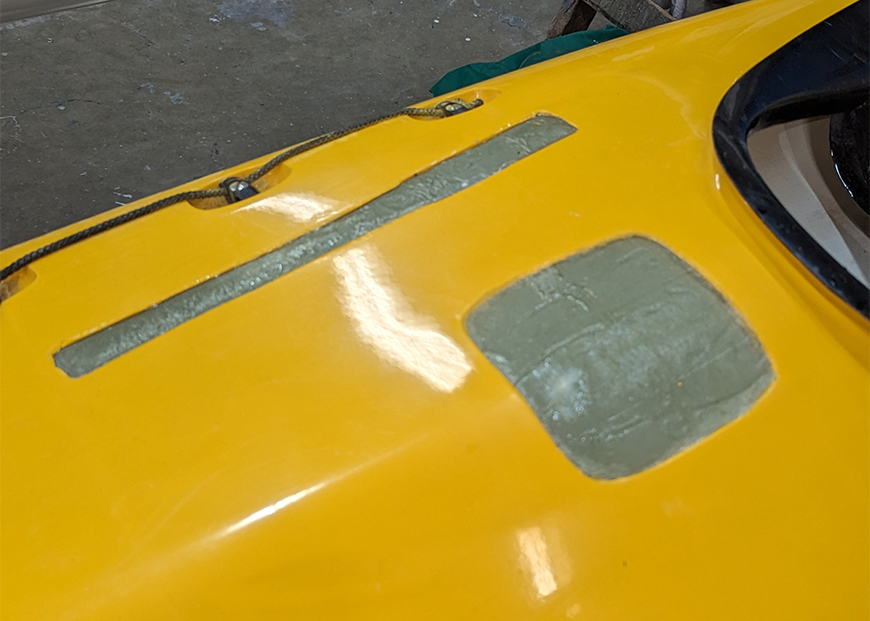
Firstly the area needs to be prepped for work. Any loose material should be removed, and the surface sanded and cleaned to make sure there are no contaminants such as grease or silicone present.
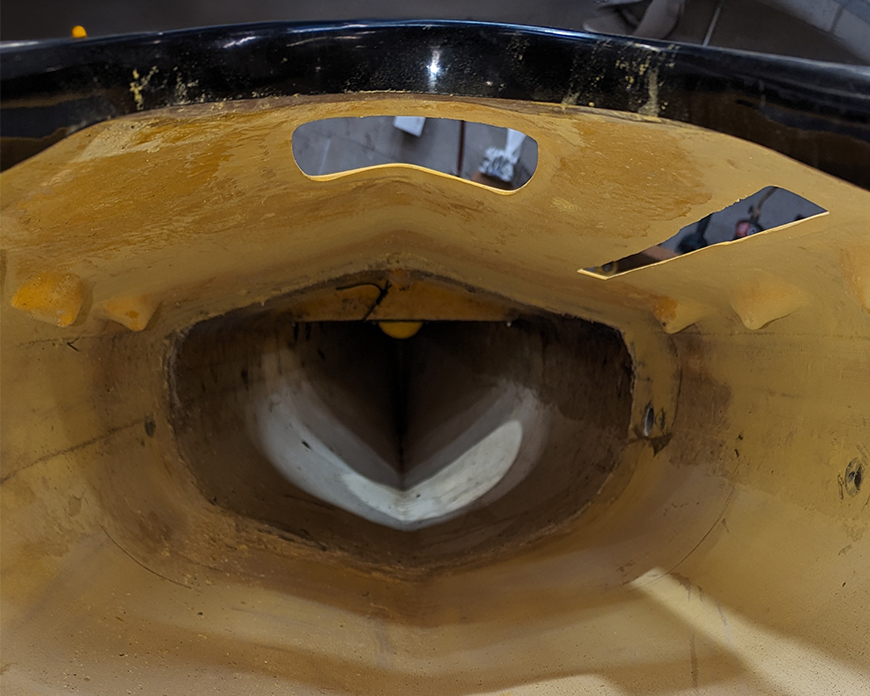
In this case, I’m rebuilding areas of the deck where a pump was removed. It is unlikely that a composite boat will find itself with a 4” square hole in it in the course of regular use.
Step 2:
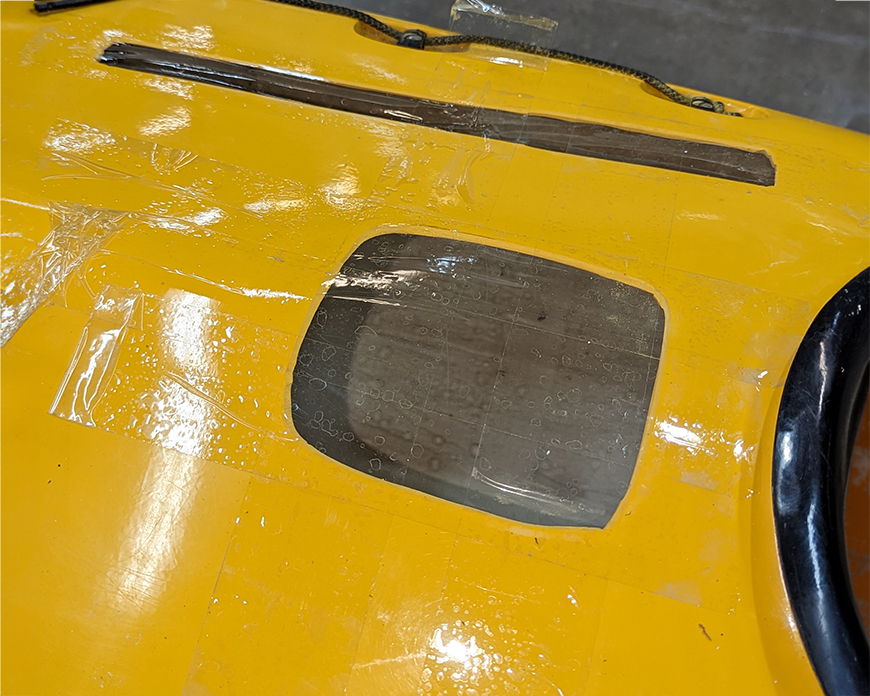
If patching a substantial hole, it helps to add some kind of backing material to maintain the form while the material is curing. In this case, a few strips of packing tape provide a good temporary form.
Step 3:
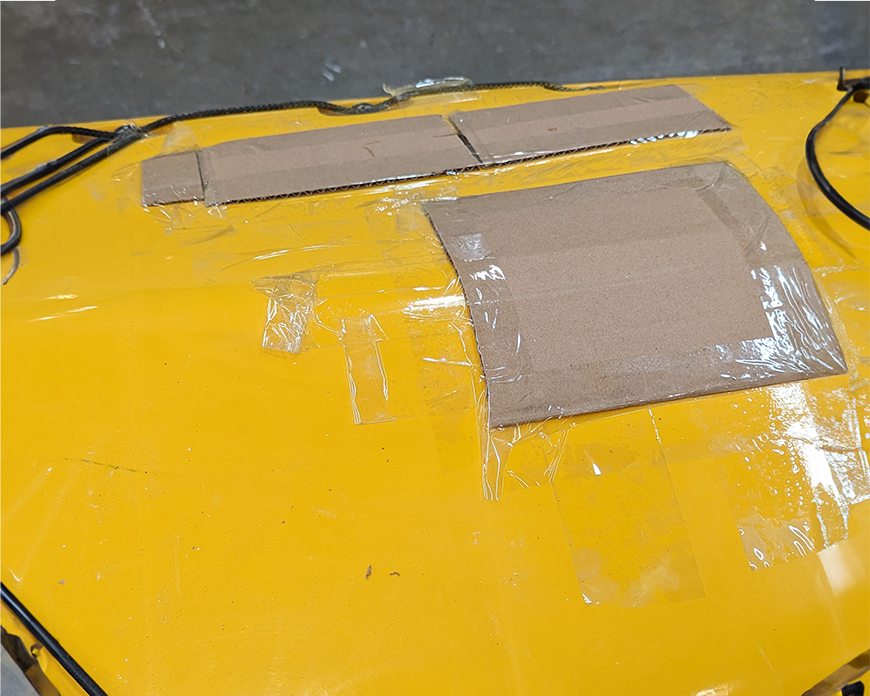
In instances where you are repairing small cracks this backing material is not needed, but it’s very handy where holes are present. For instances like this where there are large holes, I find it helpful to add a layer of cardboard as well. This keeps the material from sagging.
Step 4:
With this in place, we can then move on to adding the new material. Depending on the needs of the repair this can be fiberglass, kevlar, carbon, or some combination of those materials. Each has different properties, which may or may not be appropriate for your needs. In this case, I am using fiberglass. Because I am going to be sanding the deck smooth later, I opted to use chopped strand matting, which is a non-woven fiberglass material. Because it doesn’t have a weave to it, it gives a much smoother finish. It doesn’t have the same strength as a woven cloth, so I’ll add some of that to the underside of the deck as well.

Chopped strand matting has a binder which keeps the strands together so it can easily be cut and worked with, but this binder dissolves in styrene, one of the components in the polyester resin I’m using for this repair. Epoxy resin can be a friendlier resin to use when doing your own repairs. It’s less volatile, binds better to the surface, and has a much longer working time. The only downsides are that it’s more expensive, doesn’t work well with chopped strand matting, and you’ll have to wait much longer for it to cure. If you’re doing repairs in a home shop, epoxy is much more pleasant to work with. It’s worth remembering that a repair done with epoxy will bond to a polyester or vinylester resin, but the inverse is not done. If you’re unsure what type of resin was used in the construction of your boat, reach out to the manufacturer for clarification. If in doubt, it’s generally a safe bet to use epoxy.
Step 5:
Mix whatever resin you’re using according to the manufacturer’s directions. It is important to ensure complete mixing, so scrape down the sides of your mixing cup and stir thoroughly!
I start off by brushing a layer of resin onto the surface I’ll be building up, in this case, it’s the sticky surface of the packing tape. Then I can build up thickness using the chopped strand matting, saturating each layer with a brush.
Step 6:
I then added a layer of woven material over the matting. This provides a good amount of strength and resists cracking better than the non-woven chopped strand matting. Most repairs won’t involve a hole of this size, so material selection isn’t too critical.
Step 7:
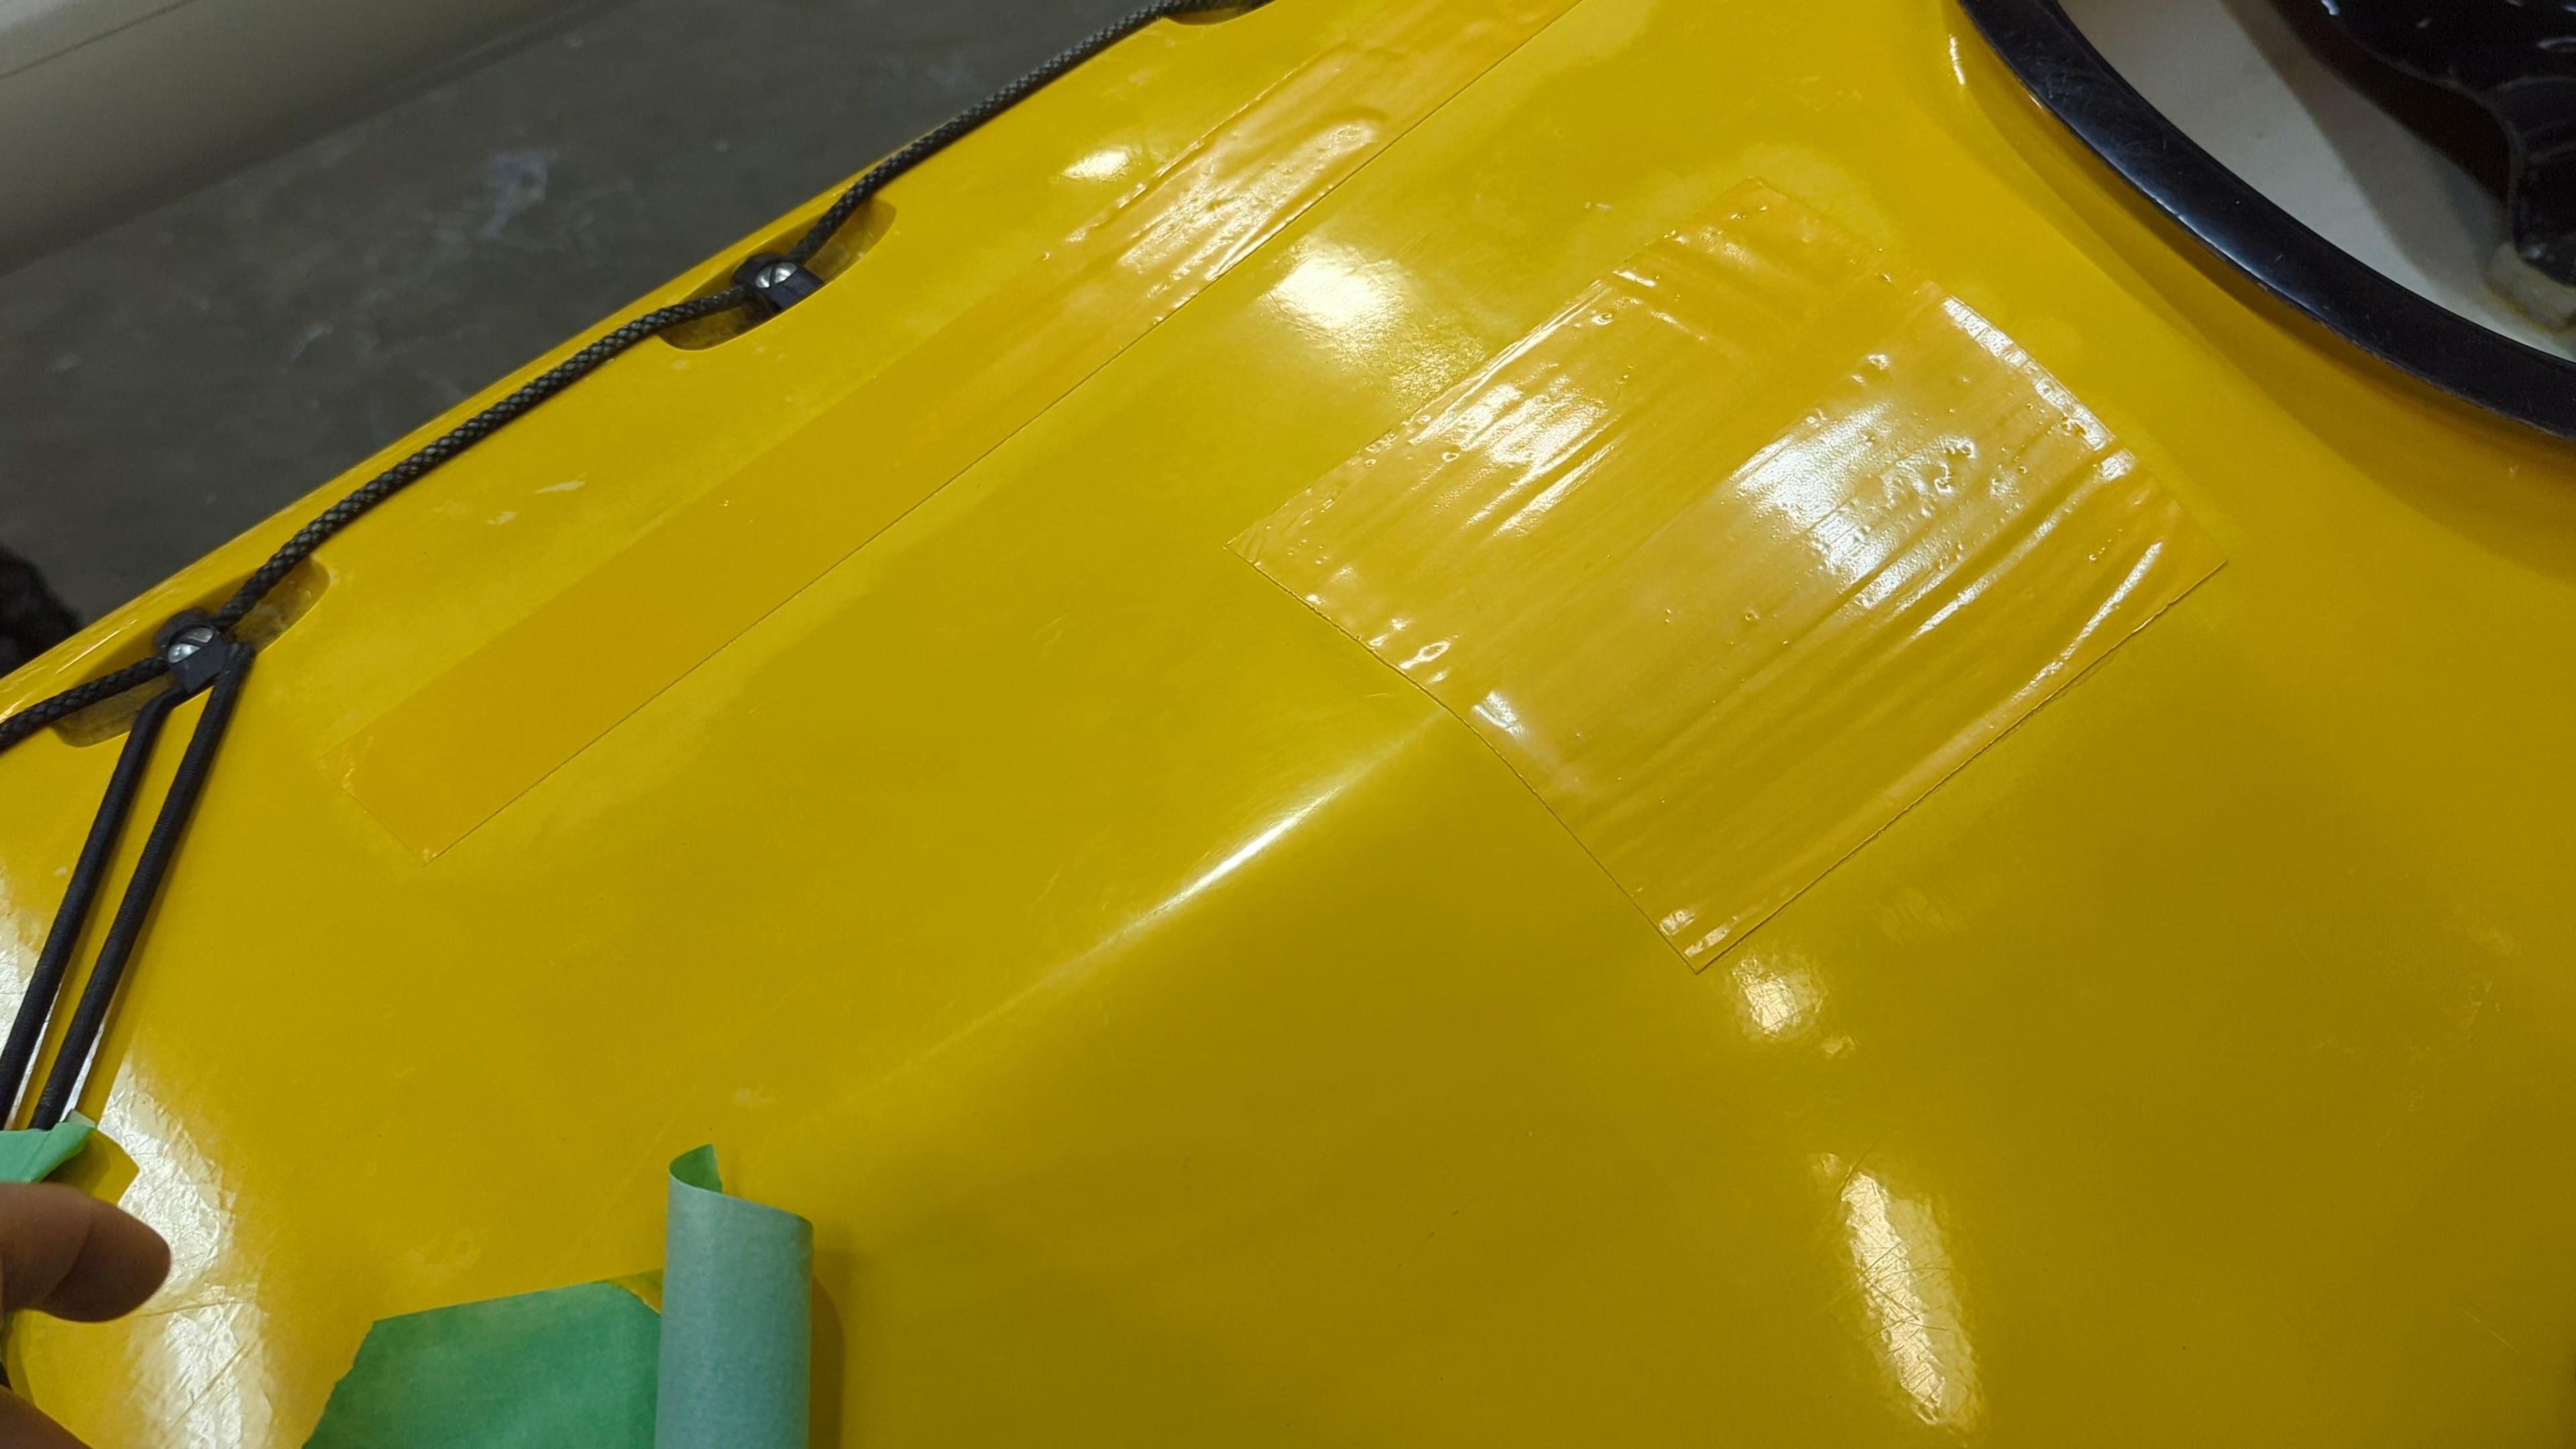
The final step of the structural part of this repair is to apply a release film. A release film allows you to smooth out the surface so you won’t need to sand it smooth afterwards. In the case of polyester or vinylester resin, they only cure fully when oxygen cannot reach the resin, and a release layer provides that air barrier as well.
Once the resin has cured, the release material can be peeled off, leaving a relatively smooth surface behind. There will be a bit of a texture from the release ply material, which can be sanded smooth easily if needed. The cardboard and packing tape can then be removed all well, leaving a solid, if unfinished repair.
Step 8:
With the repair structurally complete, the next step is to make it look good. In the case of this repair I don’t have an exact colour match to hand, and will be using this kayak for instruction, so I’m not concerned about a flawless finish. Colour matching is a difficult process, though most manufacturers are happy to sell small tins of gelcoat in the colours they use.
The same prep applies for the outer surface as well; scuff the surface and clean off any possible contaminant. I taped off the area with painters tape and brushed on a gelcoat with wax additive. As mentioned before, this type of resin won’t fully cure if exposed to air. In this case the wax additive forms a skin as the gel coat cures, allowing for full curing.
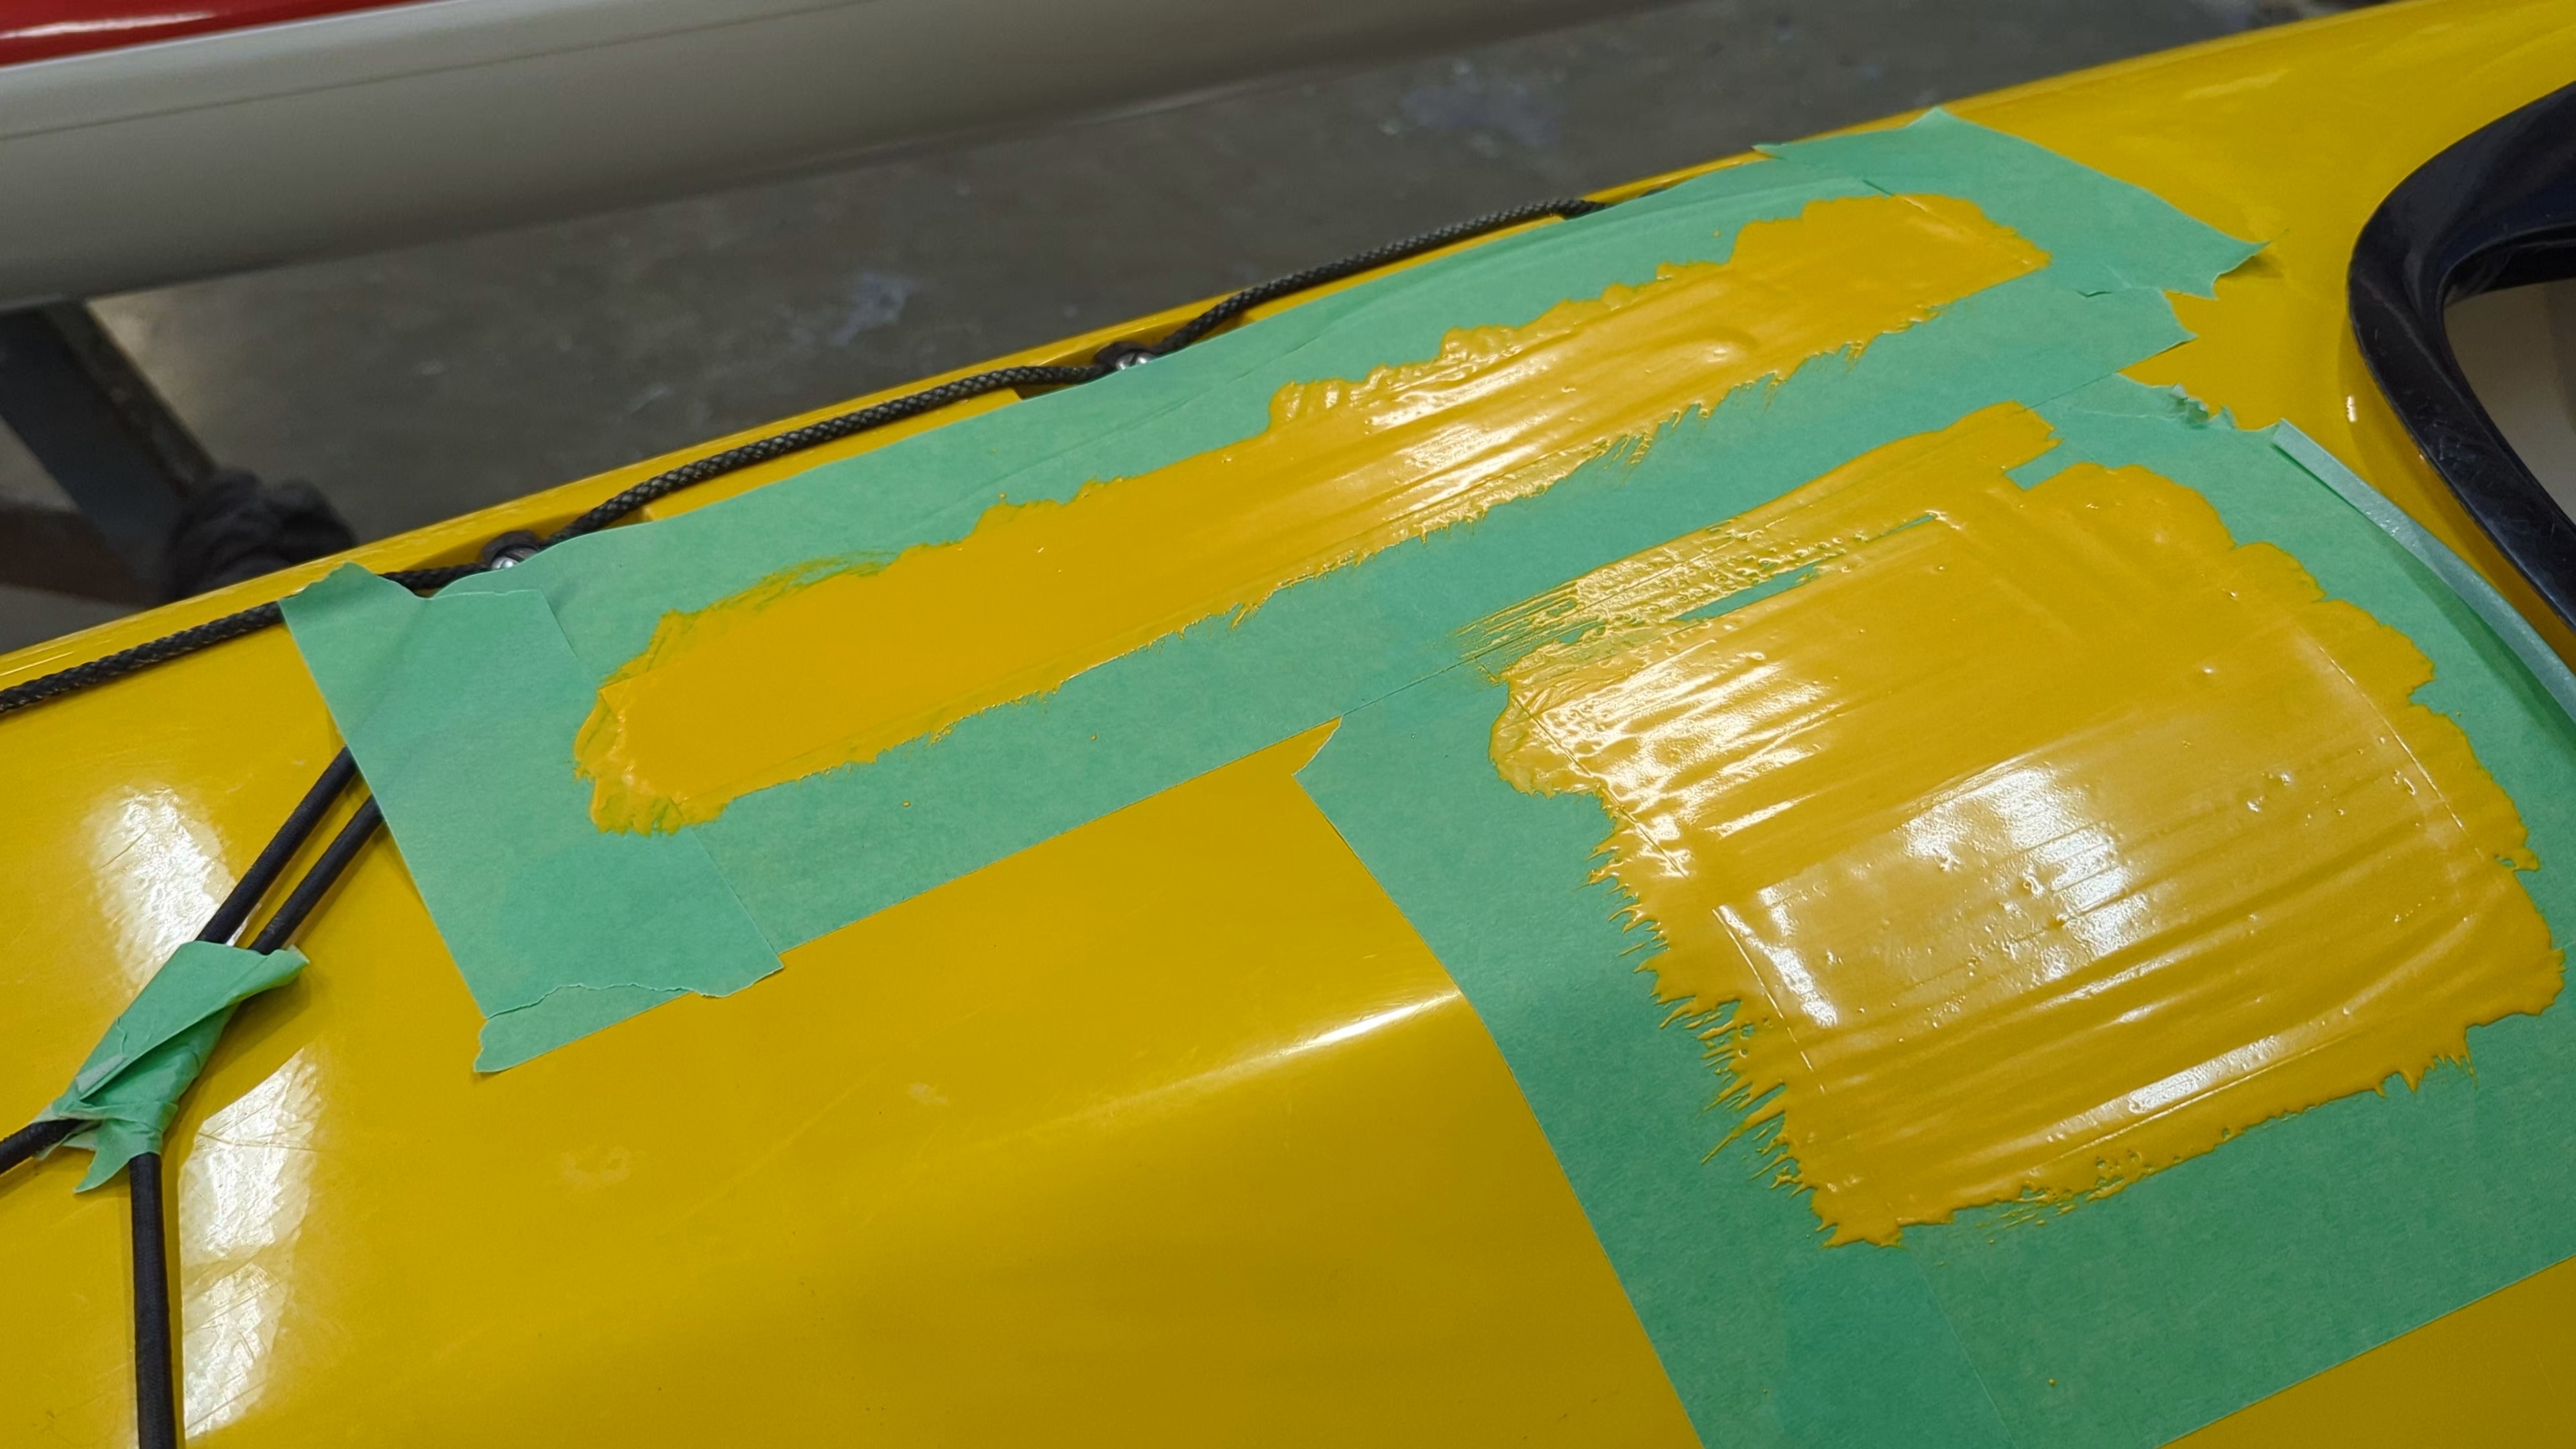
After a few minutes the gel coat will begin to set, but not be fully hardened. This is a good time to remove the tape while still leaving crisp lines.
Step 9:
After the gel coat has fully cured it can be sanded smooth and buffed to a high luster. As I will be using this for instruction, and it will be subject to regular abuse, I didn’t spend a lot of time chasing perfection. If you want to put in the time, a gelcoat repair can be made virtually imperceptible.
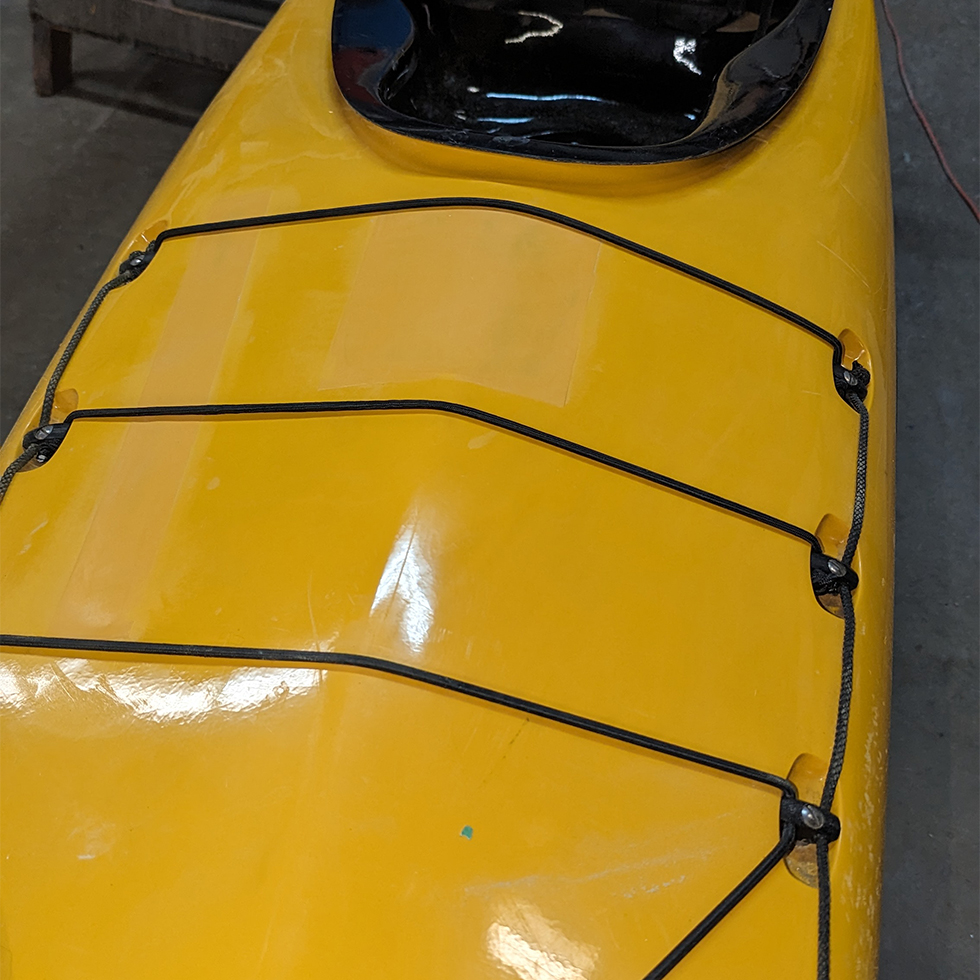
I hope following along with this repair has shed some light on what’s involved in composite boat repair. If you don’t feel comfortable taking on a project like this, reach out to us at the shop; we’d be happy to provide you with an estimate of repair cost.